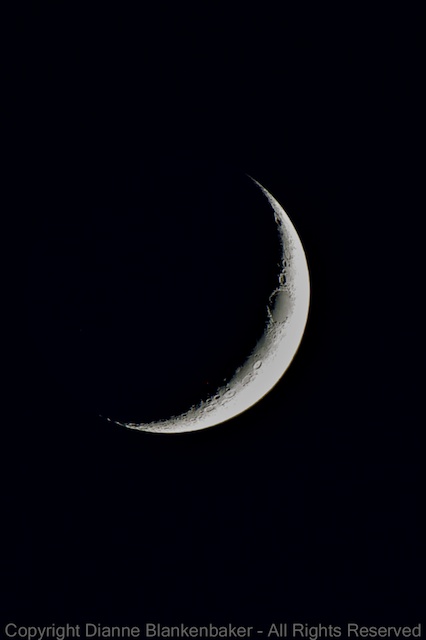
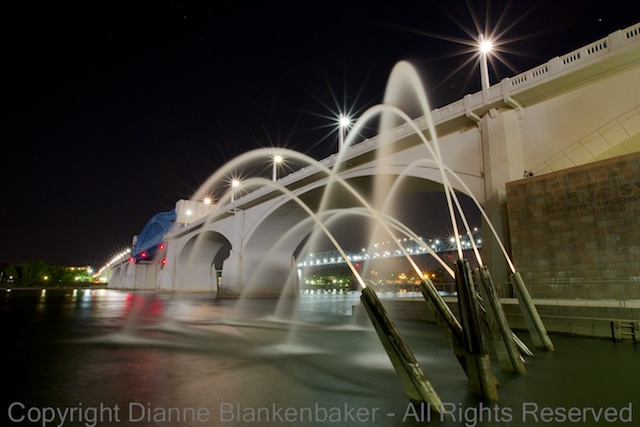
The lights on the bridge in the foreground provided enough light that my Canon 5D Mark III was able to autofocus with my f/2.8 lens

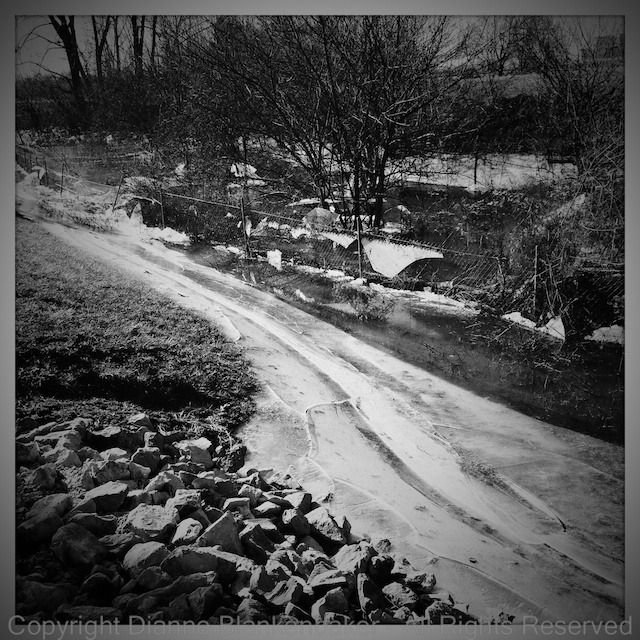
To focus on the trees in the foreground, I pre-focused on something approximately the same distance away using autofocus, then when the moon started to rise and provided enough light to see the trees, adjusted manually using live view at 10x magnification and a 2x magnifying loupe

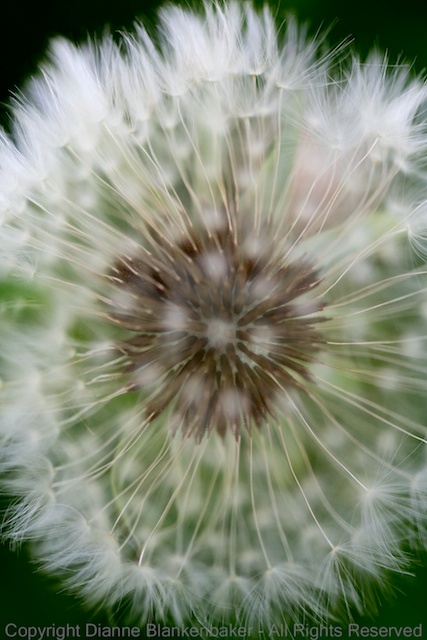
Because I was far from this relatively flat scene, by focusing on the bright reflections on the water, I was well past the hyperfocal distance, keeping everything to infinity in focus

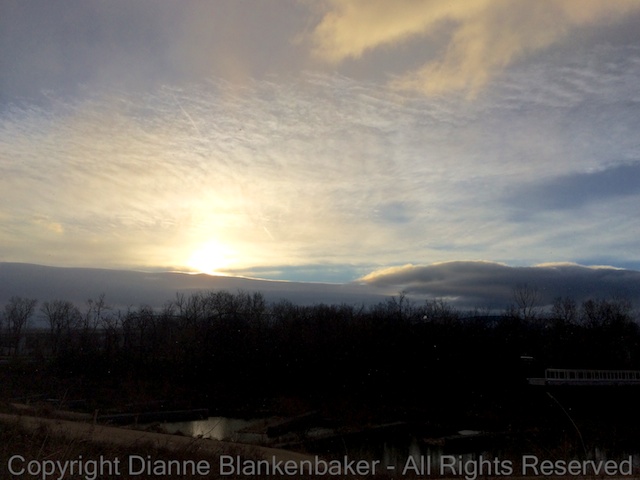
I was able to autofocus with an f/2.8 lens on my old 40D body because of the contrast provided by the last rays of light from the sun

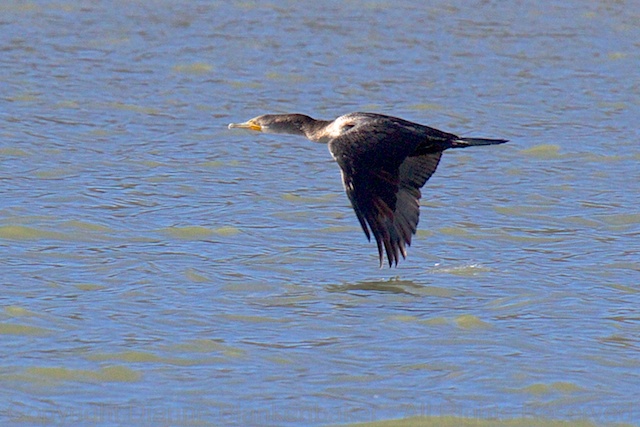
With the 100-400mm plus a 1.4x teleconverter, the max aperture was at f/8. The Canon 40D wouldn’t autofocus with an f/8 max aperture, so I used live view at 10x magnification and a 2x magnifying loupe to focus manually. This is a case where focusing at infinity might have been easier.
Recently, I had a participant in one of my workshops ask about focusing troubles while shooting in caves. It’s always difficult to diagnose a problem without actually being in the situation and knowing what the variables are and what the photographer has already tried and not tried, but here is a go at answering some of the questions that came out of that conversation.
Focusing at Infinity
Someone had suggested the photographer focus at infinity to solve the problem. Focusing at infinity is something you can do when you can’t see to focus by turning your focus ring to the infinity symbol on your lens. The problem with using this technique inside a cave is that the closest thing that will be in focus will likely be further away than anything inside the cave, leaving everything in view out of focus. This can work well for very far away subjects at night, however, and is often used for lightening shots, for example.
In this particular instance, the photographer is shooting with a Canon 30D. If he were shooting at 50mm and f/4.0 (the maximum aperture of his lens) and focused at infinity, the closest object that would be “acceptably sharp” would need to be at the hyperfocal distance, which is 108 feet away (per SetMyCamera App DOF calculator). I haven’t been in many caves where what I wanted to shoot was 108 feet away, so this is not likely to be a workable solution.
While focusing at the hyperfocal distance (108 ft) instead would make things 54 feet away “acceptably sharp”, that’s still quite a distance inside a cave and is not something you can set blindly on a lens without a distance meter (his does not have one).
This means the only way to get sharp focus inside the cave is to actually find focus either automatically or manually. Manually is tricky because it requires him to have someone else shine a flashlight on the subject while he focuses; autofocus is preferred.
So, if you’re doing a lot of shooting in dark scenarios and autofocus is really important to you, here are a few things to consider:
AF-Assist
This (other than using a flashlight) is the cheapest solution if you have a built-in flash. Even the 30D has a built-in AF Assist beam with a few constraints:
- You must be in Single Shot or AI Focus focusing mode (not AI Servo)
- It only works up to 13.2 feet away
- Ken Rockwell (a great resource for to-the-point info about gear and photography in general) said this about the AF-Assist on the 30D: “This is a trick: the 30D has NO AF illuminator! Sadly, the 30D instead fires off the flash numerous times, blinding your subjects. My wife kicked me out when she thought I was going to blind her dogs. The little light near the shutter button on the front of the body is only for the self-timer, not the AF illuminator. Sorry.”
For the 30D, to turn AF-Assist on, refer to page 169 in the 30D user manual:

To prevent the flash from then firing, you’ll also need to turn it off, which is on page 170:

If blinding the bats and your caving cohorts is not acceptable, the next choice would be to use the AF-Assist on a Speedlite. As it turns out, the aforementioned photographer owns two and they both have AF-assist that uses a much less annoying red grid to provide something to focus on.
The AF Assist setting is in the Custom Function menu for each of these flashes and you will want to set the C.Fn-05 setting on the camera flash menu to 2 (see the first excerpt from the manual above).
The next step is to disable the flash from firing, which is going to be in the camera menu for External Speedlite control on newer Canons and C.Fn-07 in the 30D the photographer is using (the same setting shown above for the built-in flash). This will allow use of AF assist without using the flash if you prefer to avoid flash.
“Faster Lenses”
People usually associate having a “fast lens” with getting faster shutter speeds because they can open up the aperture further. However, an additional benefit of fast lenses is the amount of light they make available for focusing. This can make a big difference when focusing in dimly lit settings.
When a camera is focusing, the aperture opens to its maximum size regardless of what aperture value you’ve set for exposure. For this reason, even if you’re exposure setting is f/5.6, your lens will admit 4x as much light during focusing if it has a max aperture of f/2.8 vs f/5.6, 2x as much with an f/2.8 max aperture vs f/4.0. Once you find focus (or release the shutter in continuous focusing mode), your camera stops the lens down to the f/5.6 setting you chose for exposure if you’re using an f/2.8 or f/4.0 lens and doesn’t change the aperture if you’re using an f/5.6 lens.
This can help with low-light focusing scenarios. A larger max aperture also allows your camera to use its better focusing capabilities. The Canon 30D manual says the following (p. 78):

This means that if you have a smaller max aperture than f/2.8, your camera is unable to take advantage of its higher precision focusing capability. All cameras have different focusing capabilities with different max apertures, but as explained here (“Canon EOS DSLR Autofocus Explained”), these capabilities have less to do with finding focus and more to do with refining focus.
If you decide to look at a new lens, here is another article from the same site that might be helpful on choosing lenses: http://www.the-digital-picture.com/Canon-Lenses/Aperture.aspx
Upgrade the Camera
Since the photographer having this issue is currently considering purchasing a 5D Mark III, I thought it worth mentioning that this may help quite a bit. The 5D Mark III claims it can autofocus down to EV -2. The 30D, by comparison, claims it can autofocus down to EV -.5. This means the 30D needs 3x more light to find focus than the 5D Mark III. Add a fast lens, making more of the available light also available to the focusing system, and you’ll find you can focus in more low-light conditions.
That said, no matter what, a certain amount of light must reach the lens for the camera to find focus. Total darkness, obviously, won’t allow for focusing (or capturing an image) regardless of your equipment. But, if our caving photographer points the light on his helmet at what he wants to focus on, it might be enough, for example, with one camera/lens combination and not enough for another.
If you found this article interesting or helpful, please like and share. If you have photography questions or challenges you’d like help with, please comment and I’ll see what I can come up with. 🙂


")
")