


In yesterday’s lesson, I took a rather mundane photo of the recent sculpture addition in my local park, a giant head. I did several edits on it and showed you what I did. Now, for those of you who are not particularly excited by the prospect of following 17 steps to make your image more interesting, don’t forget about Hipstamatic. This gives you the ability to create many effects in a point-and-shoot way.
We first looked at the Hipstamatic app back in Lesson 13 and again in Lessons 14, 24, 29, and 30. The thing about Hipstamatic is that you choose the “film” and “lens” you want to use, which is the same as picking a collection of editing effects and the camera does all the work for you.
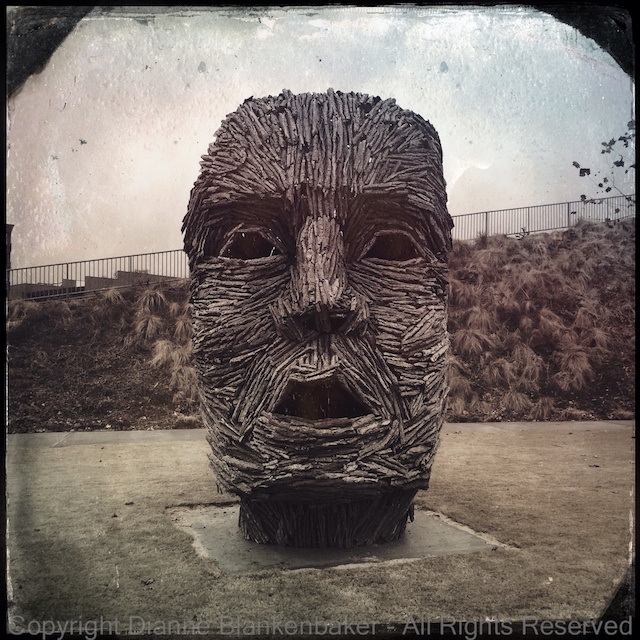
In the 3 examples shown here, I used the same lens: Helga Viking and 3 different films. The first is the Ina’s 1935 film. It gives the image more color and makes the sculpture pop out more. The second example used D-Type Plate film, which simulates an old black-and-white Tintype photo. Finally, in the 3rd example I used the C-Type Plate film, which intensifies the contrasts and shadows and also adds a touch of color.
Your Assignment: Dust the cobwebs off of Hipstamatic and choose a lens/film you want to use. Take an image of your favorite subject and then try changing to a different film. Experiment with the film that creates an effect that works best with your subject.
