


If yesterday’s abstract example hurt your eyes, today’s lesson should at least make you smile. Well, if you’re a dog lover, anyway.
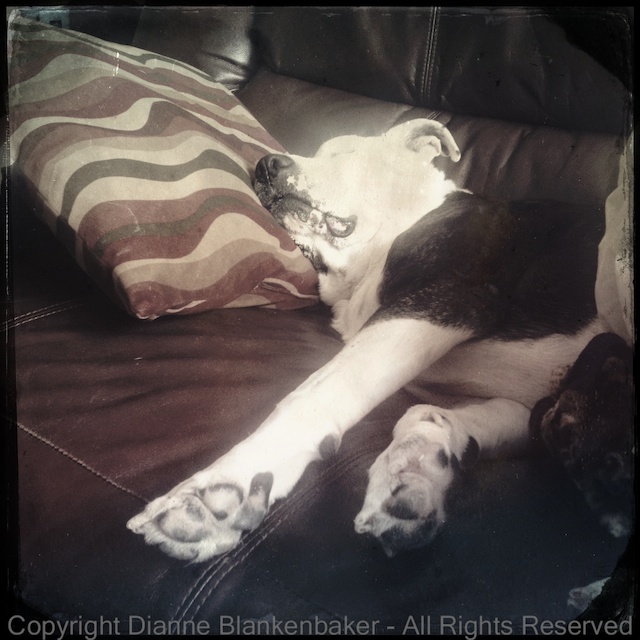
There is just something fun about the way the Paper Camera app’s Con Tours effect renders my dog. I think it’s that it outlines his spots and turns his nose into a giant white circle that amuses me so much. Hopefully you find it amusing, too.
In any case, just as in yesterday’s lesson, I started with a Paper Camera Con Tours image (see Lesson 77 for instructions on Paper Camera) and opened it in the iOS 7 version of iPhoto to see if I could make it a little more exciting.
The Paper Camera version is fun, but it isn’t quite contrasty enough for me.
Here are the steps I used to make my dog stand out better:


Your Assignment: Use the iPhoto exposure adjustment on one of your photos that maybe looks a little dull or hazy. Notice that the slider is split into 5 parts. You can slide the black square at the far left to the right to brighten the whole image. You can slide the white square right to turn down the brightness. You can move the 3 markers in the middle to adjust the mid-tones.
This works better in a color image where there is more diversity in the range of tones than in my black and white example. It’s worth experimenting with this because it makes a big difference in the appearance of your photo. It also can turn into something pretty awful if you go too far with it–have a little fun! 🙂
