


For today’s lesson, I used Hipstamatic with the Helga Viking Lens and the Black Keys film. What I’d like to focus on (sorry for the pun) is something called depth of field. Now, if you’ve read my About page, you know that I’m not allowed to explain technical stuff in this blog. I’m going to try to keep this as simple as possible: depth of field is what we call the distance from front to back of the scene that is in focus. Now that I’ve said that, I’ll warn you that that’s not entirely accurate, but let’s just leave it at that before I get into trouble with Gina.
When we looked at taking portraits in Lesson 41, we talked about wanting to keep some things in focus and other things not in focus. That’s what depth of field is all about–how do you get what you want in focus without getting other stuff in focus?
One of the painful things about the iPhone (or any other smartphone camera) is that you have very little control over this whole Depth of Field thingy. But let’s look at what happens when I use Hipstamatic to take some very close-up photos of flowers.
In the first photo, I was so close to the group of bright yellow flowers, the reflection off of them creates a haze around the blooms. Part of the haze is caused by soft focus on all but one flower hiding in the shadows. While I usually like sharp photos, there is something about this hazy effect that appeals to me.
In the second photo, the leaf in the foreground is what’s in focus. The softer focus in the other leaves and the background fence cause the leaf and fence patterns to start to look a lot like each other. Again, while I would normally consider this a failure because of the limited focus, there’s something appealing about this to me when combined with the Hipstamatic effects.
In the third photo, the blades of grass are very sharp in the foreground, but only a few of them. The rest blend into a mass of haze. I’m still trying to decide if I like this or not, but it’s a good demonstration of what we would call a shallow depth of focus–only an area a couple of inches deep in the scene is in focus.
The fourth photo really brings this effect home. The small, tall flowers in front are sharp while the big flowers in the background are soft. I want to love this photo, but I would love it more if the foreground flowers were lighter and stood out more. The background flowers would create a nice backdrop if there were more contrast between the background and foreground.
The fifth photo breaks one of the rules of photography. That is, don’t have stuff in the foreground that’s out of focus. Notice the big white flower completely blurred in the lower right. I like this photo anyway.
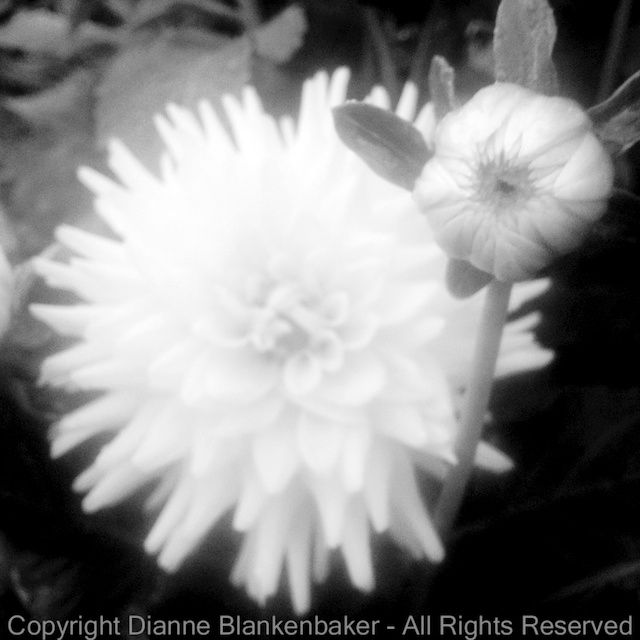
Finally, my favorite, the sixth photo focuses sharply on an unopened bud with a large bloom out-of-focus in the background. I would prefer this photo in a rectangle so that the little leaves around the bud weren’t cutoff, but I like that it’s less expected for the focus to be on the unopened bud than on the fully opened flower.
In all of these examples, I had only one way to control what was in focus and what wasn’t–distance to the subject. By getting too close to some subjects, they were out-of-focus (like in photos 1 and 5). Or, by getting just far enough away to focus sharply on the thing that was closest, I left the background out of focus like in photos 2, 3, 4, and 6.
Your Assignment: See what happens when you get very close to a subject. Pick a flower garden and shoot away. Can you get the subject in focus? How many other things are in focus? Can you get closer? When do you start to have problems getting the closest object in focus? Do you notice how far away the background objects need to be before they fall out of focus? Which do you prefer: out-of-focus foreground objects or out-of-focus background objects?

One thought on “Lesson 46: Flower Power”