


Today’s lesson is a surprise lesson. A surprise to me, that is. I wasn’t planning on doing a lesson on attachments for your iPhone for a couple of weeks, but the opportunity presented itself with a full moonrise. I am a fan of shooting the full moon rising over the horizon. The iPhone is not particularly great at achieving good moon shots, largely because its built-in lens is very wide and getting good shots of the moon requires zooming in.
Since the iPhone cannot zoom in optically (only digitally, which will degrade your photos), some very clever people have come up with external attachments that go over your lens to give it some zoom (or should I say “zoom, zoom”?). Photojojo.com carries such attachments at pretty remarkable prices. The telephoto attachment comes with a case and mini-tripod for your phone for $35. You can order it here if you’re interested.
While it’s a pretty ridiculous looking contraption, it fits in your pocket, which is hard to argue with.
This is what it looks like in its tripod:
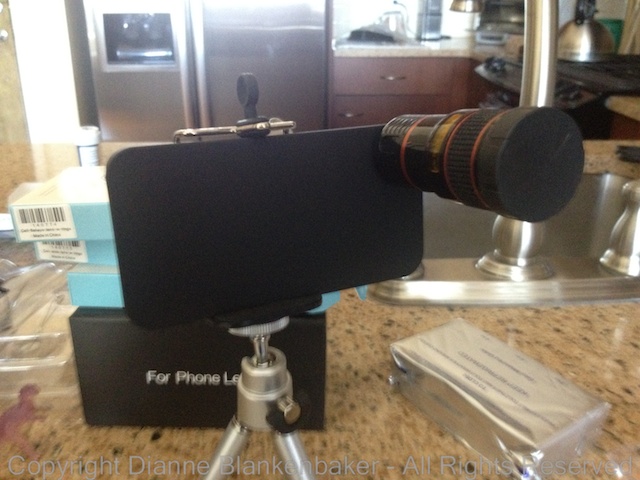
You put the phone in the case, screw the lens into the case, and voila, you have 8x the focal length for an iPhone 4/4s and 12x the zoom for an iPhone 5. Pretty cool. While this will not achieve the same quality of photograph that you get with a high-end DSLR and telephoto lens securely clamped into a high-quality tripod, it’s a $35 attachment that fits in your pocket. Compare that to the $5000 you could easily spend on a DSLR, lens, and tripod that you then have to lug around. Once again, pretty hard to argue with that. (Although, you won’t get the workout you’d get with the DSLR arrangement.)
To take pictures of the moon, you’ll want to use the tripod and have a stable place to set it where your phone will not, say, fall off a balcony and smash to pieces in the event the tripod tips over. The tripod is not the most stable thing I’ve ever used, but hey, it also fits in your (back) pocket.
The lens requires manually focusing–your iPhone cannot focus automatically for you with the lens attached. If you use glasses for reading, make sure you have them! It really sucks to take a bunch of photos and then see them on a big screen and realize they’re all out of focus.
One of the effects of the lens attachment is called “vignetting.” This means there may be some dark areas around the corners and edges of your photo. You can crop the photo after you take it to both get some more zoom and get rid of the vignetting if you don’t like it. Some people like it just fine–in fact, many photo editing tools include an option to add vignetting to a photo, so that’s another option.
Here’s what my original image looked like using the Camera Awesome app with the Photojojo 8x telephoto lens with the iPhone 4S:
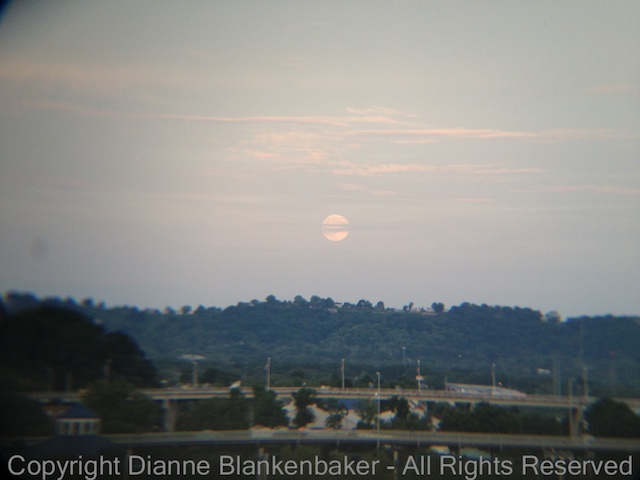
I did some adjusting to make the colors look more like what I saw and cropped to put the moon in the middle of the frame, eliminate the vignetting, and get a little more detail of the moon:

side-by-side:


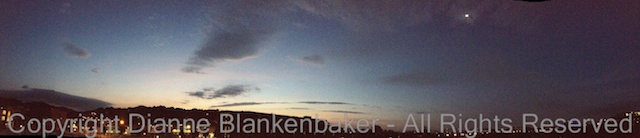
While I didn’t get some of the detail I wanted, it’s a far better photo of the moon than I’ve ever gotten with the naked iPhone. Here’s an example I took a while back that includes the moon–it looks more like a big star without the telephoto attachment:

Your Assignment: Decide if you are willing to spend $35 for an attachment you may end up not using much. If so, go to Photojojo and order the telephoto lens. While you’re there, you may want to consider ordering another set of attachment lenses that I’ll be doing lessons on in the next couple of weeks. That set includes a wide angle, macro, 2x telephoto, and fisheye attachment for $45. It’s a fun set of attachments, but now we’re talking $80, which is a pretty big investment for iPhone photos. If you don’t want to spend the dough, don’t worry.
Whether you decide to order the attachments or not, check the time of the moonrise in your location. Here’s a website that will help. Assuming the night is clear enough, watch for the moon. It may be late if there are hills, mountains, or buildings between you and your view of the horizon. Watch carefully, sometimes haze at the horizon will prevent the moon from being visible until it gets a little higher in the sky. It’s also harder to spot when moonrise is before sunset–the light of the moon may not be bright enough.
Once you spot the moon, try taking some photos of it over the landscape with your naked iPhone. Try zooming in using two fingers and pulling them apart. Notice the difference in the fuzziness in your image and the speckles that appear when you zoom in this way. If you do get the telephoto attachment, try this again when the attachment arrives and compare.

6 thoughts on “Lesson 25: Surprise! It’s Telephoto”