


Let’s talk about different kinds of portraits–or, pictures of people.
To keep it simple, let’s use 3 general categories for the purposes of our discussion:
- Traditional Portraits – “It’s all about you”
- “You were there” portraits
- Landscape portraits.
In the first category, traditional portraits are all about the person and any background is just a “mood setting.” In the second category, there’s a balance between a setting and the person (see Lesson 22). The difference being that a “You were there” portrait puts a person in a specific place that isn’t where they would normally be found.
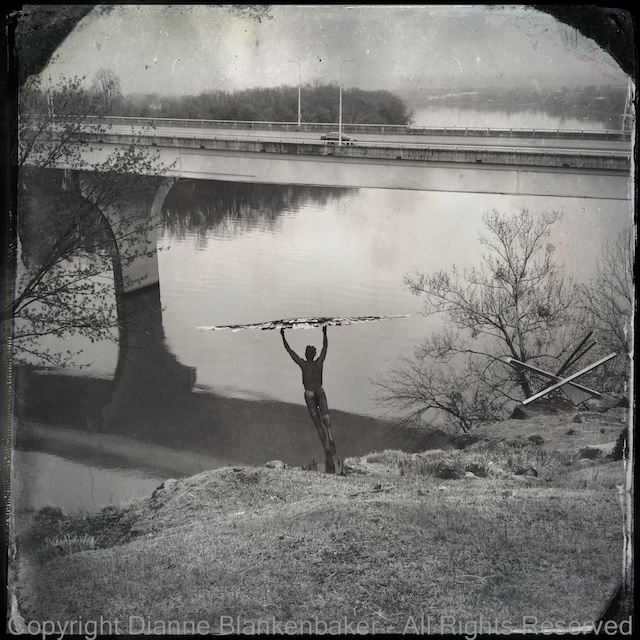
In our final category, there’s the kind of portrait that’s more about the scene and the people provide more of a “mood” or sense of scale. I thought I made up the term “landscape portrait,” but it turns out there’s a group on Flickr on the subject. Great minds. 😉
If you’re in a setting that’s worth photographing and you also have people with you, it’s good to think about these 3 choices. Since my husband, dog, and I took a hike to a beautiful waterfall this weekend, I created examples using a couple of different combinations of lenses and films in Hipstamatic to show you the differences.
For a more traditional portrait, the Tinto 1882 lens we used in Lesson 24 works quite nicely. As you can see, the facial recognition does a good job of keeping the face sharply in focus while the rest of the scene blurs. To keep the background from getting too distracting, I took these in front of some stone steps instead of the waterfall. I used the Black Keys Fine film (available for free download from the shopping cart in the app) for the photo on the left and the Kodak XGrizzled film we used in Lesson 13 for the photo on the left:


I like the Black Keys film for a crisp black and white look. The Kodak XGrizzled film makes for a color photo with character. I would have also used a neutral film, but my model was starting to grumble about mosquitoes.
To get more of a balance between the setting and the “people” (including my canine kid) for a “they were there” portrait, I positioned myself much closer to the people. I also switched from the Hipstamatic app to the Camera Awesome app to get a “normal” photo:

For the landscape portrait, I did two completely different looks. First, I used Hipstamatic with the Helga Viking lens and D-type film. Second, I used Pro HDR. In both examples, I included the entire waterfall and had my husband looking away from the camera. My dog was not so cooperative about where to look.
In both photos, the clear subject is the waterfall and having people in front of it creates a sense of scale as well as a different mood than, say, the waterfall by itself. Compare a similar Hipstamatic photo with the same lens and film side-by-side with the one with my husband and dog:


How would you describe the difference in the feelings evoked by the two photos?
Your Assignment: Take a cooperative person with you to an interesting setting. It doesn’t have to be a waterfall–an interesting building can make an equally compelling photo. Try using the different combinations of lenses and films in Hipstamatic in the different styles of portraits we discussed. Try with Camera Awesome and Pro HDR, too. Compare the photos. Which do you like best?
