Lesson 6: Hold the Phone

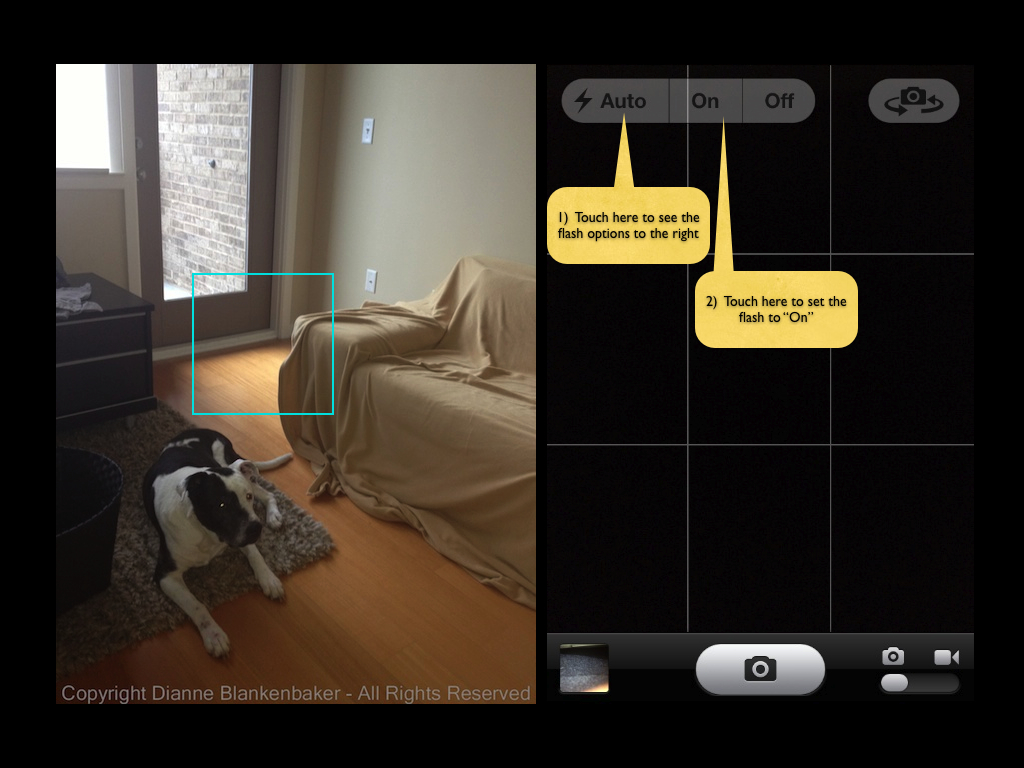
One of the things we don’t always think about when we are taking photos is how we’re holding the phone.  Using an iPhone or any small-bodied camera, especially smart phones, creates a challenge around holding the phone straight and still.  This can both create blur and distortion as well as change the framing.  Click image to enlarge:

stability and angle of phone.001 (1)

The “rule of phone” here is to hold the phone as much like a camera as physically possible.  That means holding all 4 corners of the phone firmly.  Use your thumbs on the bottom side.  On the top side, use your left index finger and your right middle finger.  Assuming you have an iPhone 4S or later, keep your right index finger free to press the volume up button to take the photo.  Your finger placement will look like this (click to enlarge):

finger placement.002 (1)

If you turn your phone vertically, you may find it easier to keep your fingers in these positions, but open your unused fingers on your right hand to keep them out of the frame.

Now that you have a good grasp on your phone, look at the screen of your iPhone to frame the subject, use your free index finger to tap the screen to set focus/exposure, and then take a moment to make sure you’re stable and you haven’t messed up your framing in the process.  Then, click the volume-up button to take the photo.

Bonus tip:  if you have a place to set your phone that gives you the framing you want, you can use the volume up button on a headset to take the image, too.  This will ensure your phone is perfectly still and perfectly perpendicular.

Another thing to be aware of is the angle you are holding your phone at.  I sometimes find that I am not quite able to fit my subject in the frame.  When I look at how I am holding my iPhone, I discover I am holding it at an angle to the subject, which makes the space I have to work with vertically more condensed.  Compare these two images (click to enlarge):

stability and angle of phone.002 (1)

I held the phone at the same spot but at two different angles.  Holding the phone straight gave me more vertical space in the frame.  Keeping the phone straight can also help when you are taking photos of objects that are square and you want them to look straight.  As is true with any “rule,” sometimes an angled phone works great.

Your Assignment:  Practice holding your phone like a camera.  Start with the instructions above and try sliding your thumbs closer together or further apart.  Try using different fingers.  Practice setting focus/exposure and clicking the button to see if you can find a comfortable grip that helps you keep the phone steady while you move your free finger around.  You might even try turning the iPhone around so the volume-up button is under your left thumb–especially if you’re left-handed–some people find this easier.

Now take a few images with the phone at a right-angle to the ground.  Without moving, try tilting it forward and taking a photo and then back.  See how it changes what fits in the frame.  Notice if it affects the way the subject looks.

Lesson 5: Exposure

I mentioned in yesterday’s lesson that the iPhone’s default camera app both focuses and sets exposure based on where you tap on your phone’s screen.  Yesterday we talked about focus.  Today we will talk about exposure.

The fact that focus and exposure are tied together in the iPhone app can create some frustrating situations.  In later lessons, we’ll talk about other iPhone apps you can use that separate these two functions, for right now, we’ll stick to the default app.

Let’s take a made-up example.  Let’s say I want a picture of my dog that includes the patio door for some reason.  When I tap my dog on the screen, the iPhone both focuses and sets the correct exposure for my dog, which works reasonably well:

Setting the focus/exposure point using my dog work reasonably well for this image
Dog chosen as focus/exposure point

Now let’s pretend there is something really fascinating about that patio door and I want a picture that exposes the patio door correctly, but also includes my dog.  If I tap on the patio door to get the right exposure for it, this is what I get:

Glass in door focus/exposure point selected

If we could see my dog, we would find that he’s kind of fuzzy in addition to being too dark.

To get both my dog and the door, I can choose a portion of the image that is approximately halfway in between the two and turn on the flash like this:

Choosing a compromise point and turning on the flash

You’ll notice in the image above (click to enlarge) used to show where to focus, the downside of using the flash is that my dog’s eye reflected the light, but we’ll learn how to deal with that later.

As you can see, when the exposure required for a subject causes the rest of the image to be too bright or too dark, this technique can help.  By choosing the place to tap so that it’s between the two extremes, it helps equalize the gap.  If the gap is too big, you can use the built-in flash to help equalize things further.  Note:  the distance the flash will have an effect is limited to very short distances (a few feet).

Your Assignment:  Take a walk outside during the day.  Try taking a photo of a solid subject that has a lot of light behind it.  See if you can find good spot to tap on to get both reasonable exposure and focus.  Try turning on the flash to see if it helps.  For bonus points, try using the rule of thirds in the same photo.

Lesson 3: Fill the Frame

In yesterday’s post we explore the rule of thirds.  Today, we’ll add the second “rule” (remember, rules are only meant to help you understand the choices you can make) of taking better photographs:  fill the frame.

You want your frame to be full of your subject.  Not the stuff around, behind, above, below the subject, just the subject.

To make this easy, let’s say you wanted to take a picture of a dog.  Often, people will take a picture of a dog that looks something like this:

IMG_2619

Let’s look at what’s in the frame.  When you look at this image, you see that I have an ugly blanket draped sloppily over my sofa, there’s a plastic tray on one arm, an outlet partially showing behind the plastic tray, and an awkward corner of an area rug in the lower foreground along with a wood floor.  All of these things distract from my subject, which is my dog.

Even though I applied the rule of thirds by placing the upper-left intersection of the grid (discussed in yesterday’s post) on my dog’s eye, my dog looks like he’s floating in the middle of a bunch of other stuff.

When I apply the rule of filling the frame with the subject, this is what I get:

IMG_2622

There are several things about this image that could be improved, but we’ll save those for later lessons.  In spite of these issues, the sloppy blanket has become a neutral background and there is no question about what the subject of this image is.

Think about it this way:  the first photo would probably be captioned as “dog on a blanket-covered sofa in the living room with his toy,” while the second image would just be captioned, “dog with toy.”  There’s nothing wrong with an image of a dog on a blanket-covered sofa in the living room with his favorite toy unless what you wanted was an image of a dog with his toy.

As a side note, I do not recommend zooming using the iPhone or any other camera that doesn’t have Optical Zoom.  Optical zoom means there is a moving lens that makes the image look closer.  A camera like an iPhone camera has Digital Zoom.  Digital zoom means the magical wizard in your smart phone figures out how to make the image look bigger, but it reduces the resolution of your image, often resulting in something really grainy.  If at all possible, use your feet instead of your fingers when it comes to getting a close up with a smart phone.

Your Assignment:  Pick your favorite subject that’s willing to stay still for a few minutes.  Stand far back and take an image of your subject applying the rule of thirds–don’t worry about what else is in the frame.  Now, step up close, apply the rule of thirds again, fill the frame with your subject, and take a second image.  Remember you have the option to turn your iPhone vertically if that helps.  Which image captures your subject more powerfully?