In our last lesson, I explained that rules are just a way of organizing the choices you can make when you take a photo. The rule of thirds is one of those choices.
The iPhone default camera app can be set to turn a rule of thirds grid on in the Options menu. Most camera apps and point-and-shoot cameras have this option. This is what it looks like with the grid on:
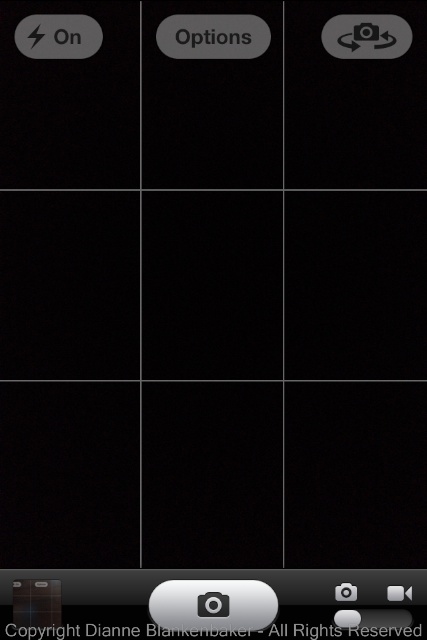
The grid divides the frame into thirds both horizontally and vertically. For many subjects, placing the subject so that the most important feature aligns with the intersection of one of these lines can make the subject grab the eye much more effectively.
Here’s an example. First, in the next image, I’ve centered my dog’s head in the frame:

In the next image, I placed one of the grid intersections on my dog’s left eye:

I chose the lower-left intersection in the grid because it allowed me to get his front legs in the frame as well.
Which one do you like better?
Your Assignment: Turn the grid on in your camera app or camera if it has it. If not, you can imagine where the grid would be by guestimating. Pick a subject that isn’t moving like a flower or a vase or a sleeping dog. Try photographing it centered in the frame, then try each of the 4 intersections of the rule-of-thirds grid. Which do you like best?

i like the picture where the object is in the center of the frame, personally thats what catches my eye first is whats in the center of the image
Great blog you have hhere