Lesson 87: Adding Drama in iPhoto iOS

This will be the last iPhoto iOS lesson for a bit.  But, I wanted to show some editing on a “regular” photo rather than using the Paper Camera images I edited in Lessons 85 and 86.

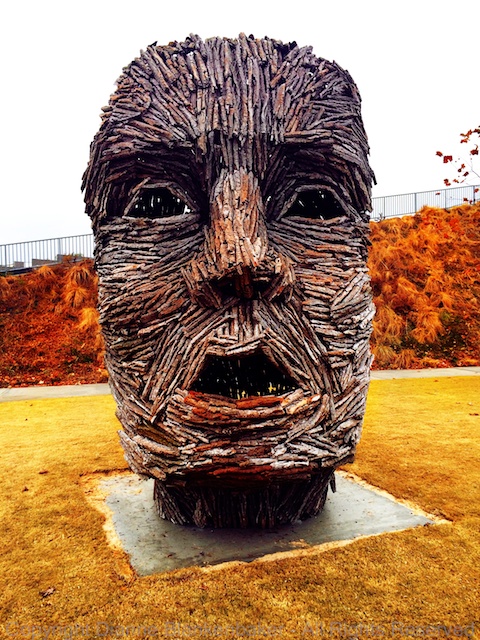
This sculpture recently appeared in a park in my neighborhood.  It’s a pretty dramatic sculpture all on its own, but somehow the drama doesn’t quite translate in the photo taken in the Apple Camera app.  Perhaps because this was taken on an overcast day with very even lighting–as you may recall from Lesson 16, lighting makes all the difference.

In any case, I used iPhoto to bring back the drama and maybe even add a little extra.  Here’s what I did:

Your Assignment:

Choose an image that is lackluster.  Yesterday we played with the Exposure settings.  That’s a good way to add drama as a starting place.  Now try using the saturate brush and “Drama” effect in iPhoto to see if you can create an image that really “pops.”

Lesson 86: My Silly Dog and the iPhoto Exposure Tool

If yesterday’s abstract example hurt your eyes, today’s lesson should at least make you smile.  Well, if you’re a dog lover, anyway.

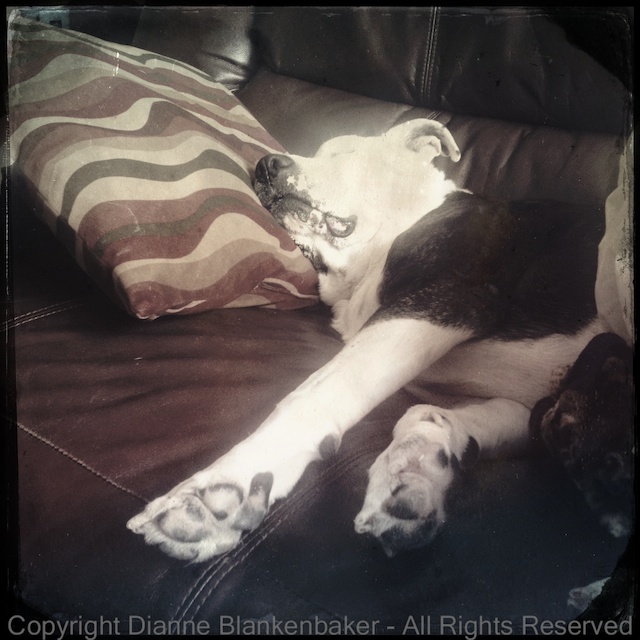
There is just something fun about the way the Paper Camera app’s Con Tours effect renders my dog.  I think it’s that it outlines his spots and turns his nose into a giant white circle that amuses me so much.  Hopefully you find it amusing, too.

In any case, just as in yesterday’s lesson, I started with a Paper Camera Con Tours image (see Lesson 77 for instructions on Paper Camera) and opened it in the iOS 7 version of iPhoto to see if I could make it a little more exciting.

The Paper Camera version is fun, but it isn’t quite contrasty enough for me.

Here are the steps I used to make my dog stand out better:

Your Assignment:  Use the iPhoto exposure adjustment on one of your photos that maybe looks a little dull or hazy.  Notice that the slider is split into 5 parts.  You can slide the black square at the far left to the right to brighten the whole image.  You can slide the white square right to turn down the brightness.  You can move the 3 markers in the middle to adjust the mid-tones.

This works better in a color image where there is more diversity in the range of tones than in my black and white example.  It’s worth experimenting with this because it makes a big difference in the appearance of your photo.  It also can turn into something pretty awful if you go too far with it–have a little fun!  🙂

Lesson 85: iPhoto Con Tours

Back in Lesson 77, we downloaded Paper Camera and did a bunch of fun stuff with it over several lessons.  Today we’re going to take a Paper Camera image using the Con Tours option and then do some editing with it in iPhoto to see what we can do.

Since I was out hiking with my dog, I took one photo of him and one photo of some trees using Paper Camera Con Tours.  Refer to Lesson 77 for instructions on how to take a photo with Paper Camera and to see an example of Con Tours.

After I saved my two photos to my Camera Roll from within Paper Camera, I opened up iPhoto and did some editing.

Here are the steps I used for the image of the trees (we’ll take a look at my dog in tomorrow’s lesson):

Your Assignment:  Try combining apps like Paper Camera and iPhoto and see what you can do.

Lesson 84: iPhoto Mobile Editing

Yesterday, I introduced you to metadata in the mobile version of iPhoto, a free app from Apple.  Today, I thought I’d show you a combination of using one of the brush editing tools and a filter to take my photo from not very interesting to a more retro look.  I particularly like how the light showing through the leaves in the foreground (left side) looks with the black-and-white effect.


Your Assignment:  Download iPhoto if you haven’t already.  Then open it up and select the photo you want to work on.  Here are the steps I followed for my edit:

Not a Lesson, Just an Update

Hopefully no one has run out of iPhoneography lessons while we were taking a hiatus!  We were all tied up getting ready for our Nov 10 Raptography workshop and didn’t quite get back on track right away.  So, here are a few shots I managed to grab during the class.  If you’d like to see some of the participant’s photos, you can check them out here:  Nov 10 Workshop.

It was an awesome experience to get to spend a day working with 10 photographers in person!  That was a DSLR class–unfortunately, I didn’t have an opportunity to discover what kinds of shots of birds of prey are possible with an iPhone, but maybe next time.  🙂

Hoping to get back on track iPhoneography lessons tomorrow.


Lesson 82: Halloween Tadaa

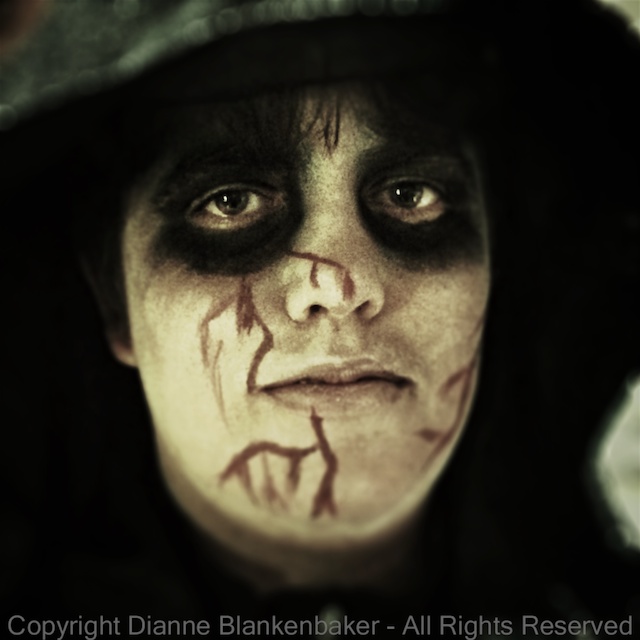
Today, we’re going to use the editing capabilities of Tadaa once more.  In honor of Halloween, I thought I would work with a holiday-appropriate image.

The original photo taken with my iPhone 5S presents several challenges.  First, it was taken with lots of distracting background.  Second, it’s so bright, it destroys the Halloween mood.

Using Tadaa, I was able to take the image from a quick grab shot to something that has more impact.  Here’s what I did (see Lesson 82 for instructions on how to open a photo for editing in Tadaa):

Your Assignment:  Give the Tilt-Shift edit tool a try.  Do you have a photo that could be improved by blurring the stuff around the main subject?  This is a good choice for controlling the portion of the image that’s in focus.  Don’t forget to hit Save when you’re all done editing!

Lesson 81: Tadaa


Funk-i-fied silly dog photo

Today we’re going to undertake another app.  This one is called Tadaa and it’s free.  Tadaa has a built-in camera that promises HD images.  This is not HDR, which we have experimented with quite a bit in earlier lessons.  Rather, it’s high definition.

But, I thought we’d start slowly by editing an existing photo rather than creating new ones.  So, to get started, download the app, open it up, and then tap the photos icon to the left of the camera icon.  This opens up your photo albums and allows you to select the photo of your choice.

Once you’ve got the photo open, you can apply a variety of edits.  To keep this simple, I used only 3 types of adjustments.  One of the things I particularly liked was when using the “HD Clarify” adjustment, you can flip back and forth between the original photo and the revised version to see if you like it better than the original.  I wish each adjustment had that option.

I decided to apply a funky filter to my silly dog in Doggles just for fun.  The app has many filters, but the funky one I chose is a bit more unique–I haven’t seen anything similar in other apps.  That said, I can’t say it’s one that I expect to use often.


Your Assignment:  Once you’ve got a photo open in the app based on the above instructions, follow these steps to do your first edit:


Lesson 80: Many Effects

One last quick tip on Paper Camera and then we’ll move on in the next lesson.  If you like the same photo with many different effects, once you have the photo open, you can choose an effect and adjustments and then click the diskette icon to save that version of  the image.

You don’t have to leave the screen to go to the next effect and try that one.  You can repeat this process through all of the effects and save as many versions of the image as you like.  All of the images remain inside the app until you go to the photos and save them to your camera roll.

This is a nice little timesaver if you want to, say, try many different effects on the same image and then view them on a larger computer screen later to decide which you like the best.

Your Assignment:  Pick a photo to experiment with many (or even all) of the effects available in Paper Camera.  Follow these steps to save many versions.

Lesson 79: Start with a Photo, End with a Drawing

Yesterday we used the Paper Camera app to create a sketch by taking a picture.  Today we’re going to use Paper Camera to turn a “regular” photo into a line drawing.

Paper Camera not only acts as a live-view of effects, it also allows you to apply those effects to existing photos.  This has the advantage that if you decide you don’t like the effect later, you still have the normal photo to work with.

However, you can’t create a “normal” photo using Paper Camera.  You can use Camera Awesome, the Apple Camera App, or your favorite camera app to take the photo and then open it in Paper Camera to apply the effects.

This means you can use any photo you’ve got on your iPhone to play with the effects.

Start by opening the Paper Camera app.  Next, follow these steps to open an existing photo from your Camera Roll and apply effects:

Your Assignment:  Pick a photo that you want to play with.  Follow the steps above to apply the effect of your choice.  Did you turn someone you love into a comic superhero?  Or maybe create a simple line drawing?  Did you have fun?

Lesson 78: Make a Sketch


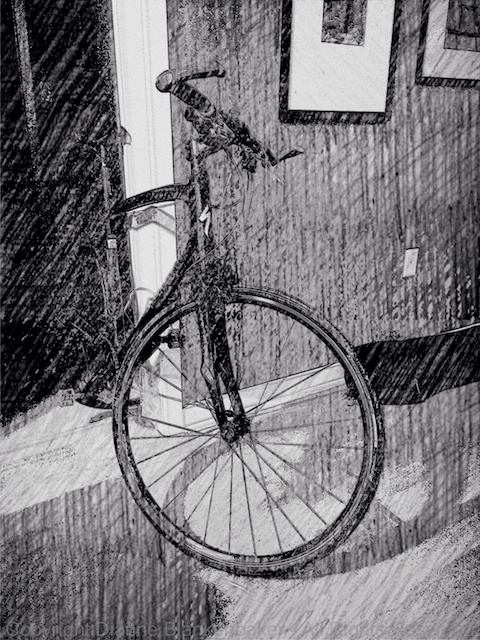
Sketch up of bicycle

Yesterday, I introduced Paper Camera.  Today, I’m going to show you a quick lesson on adjusting the Sketch Up effect to gain more control over the effect.

Start by opening up the Paper Camera app, then scroll through the effects by clicking the right arrow to get to the Sketch Up effect (or another one you like).

Point the camera at the subject and frame it the way you like.  You can see the effect in your LCD live.  If you don’t like the effect you chose, click the right or left arrow to change the effect.

Once you have the effect you want, you can adjust the contrast, brightness, and lines sliders to get a look you like.  Here are the steps one-by-one:

Your Assignment:  Experiment with each slider.  Raising the contrast makes the light areas very light and the dark areas very dark–you can cause some parts of the subject to disappear.  The brightness lightens and darkens the entire image.  The lines adjustment is the most interesting to me.  It thickens/darkens or thins/lightens the lines in the image.  You can get a very minimalist effect or a completely filled in look this way.