

Today we’re going to undertake another app. This one is called Tadaa and it’s free. Tadaa has a built-in camera that promises HD images. This is not HDR, which we have experimented with quite a bit in earlier lessons. Rather, it’s high definition.
But, I thought we’d start slowly by editing an existing photo rather than creating new ones. So, to get started, download the app, open it up, and then tap the photos icon to the left of the camera icon. This opens up your photo albums and allows you to select the photo of your choice.
Once you’ve got the photo open, you can apply a variety of edits. To keep this simple, I used only 3 types of adjustments. One of the things I particularly liked was when using the “HD Clarify” adjustment, you can flip back and forth between the original photo and the revised version to see if you like it better than the original. I wish each adjustment had that option.
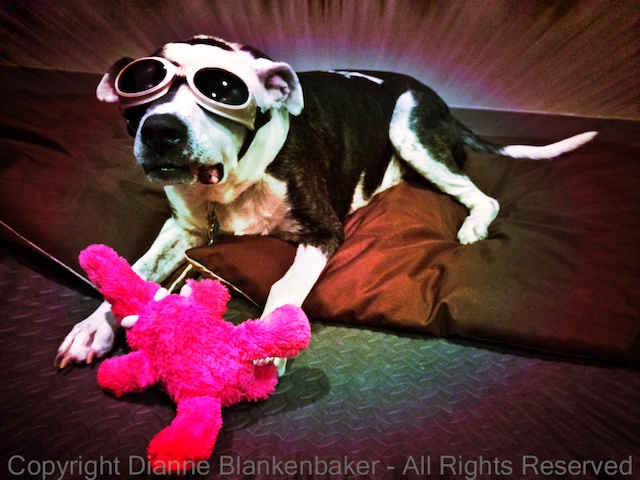
I decided to apply a funky filter to my silly dog in Doggles just for fun. The app has many filters, but the funky one I chose is a bit more unique–I haven’t seen anything similar in other apps. That said, I can’t say it’s one that I expect to use often.
Your Assignment: Once you’ve got a photo open in the app based on the above instructions, follow these steps to do your first edit:


